If your dog barks within minutes of you leaving, circles the same spot obsessively, or greets you with chewed furniture and a guilty face, you already know that leaving is hard for both of you. The question is not whether you should do something. It is which tools actually help, and how to use them correctly.
A treat-dispensing pet camera like the Furbo Mini 360 can genuinely reduce that distress window, but only when it is placed thoughtfully, loaded with the right treats, and introduced as part of a consistent behavior protocol. I have seen owners buy one, point it at the couch, and wonder why their dog ignores it. Setup matters more than the hardware. This guide walks through every step, from unboxing to your first solo check-in, so you are not guessing.
Your dog is home alone right now. Here is the camera that lets you check in and toss a treat from anywhere.
The Furbo Mini 360 streams 2K video, rotates 360 degrees, and tosses treats from your phone. It is the tool this entire protocol is built around.
Amazon Check Today's Price on Amazon →Step 1: Choose the Right Placement Before You Plug Anything In
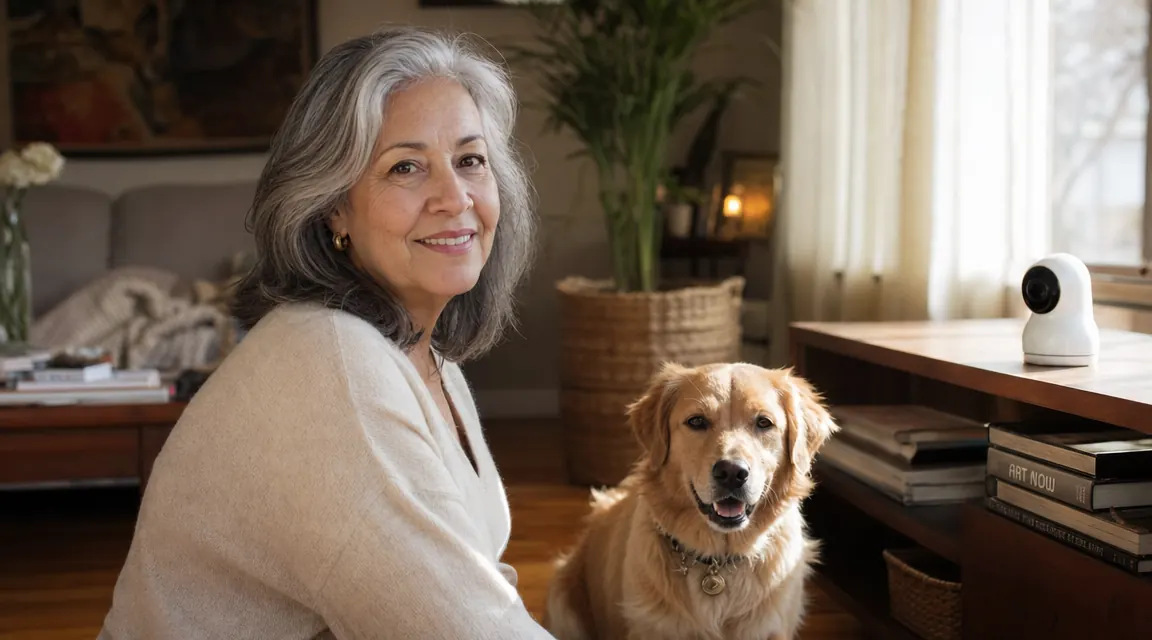
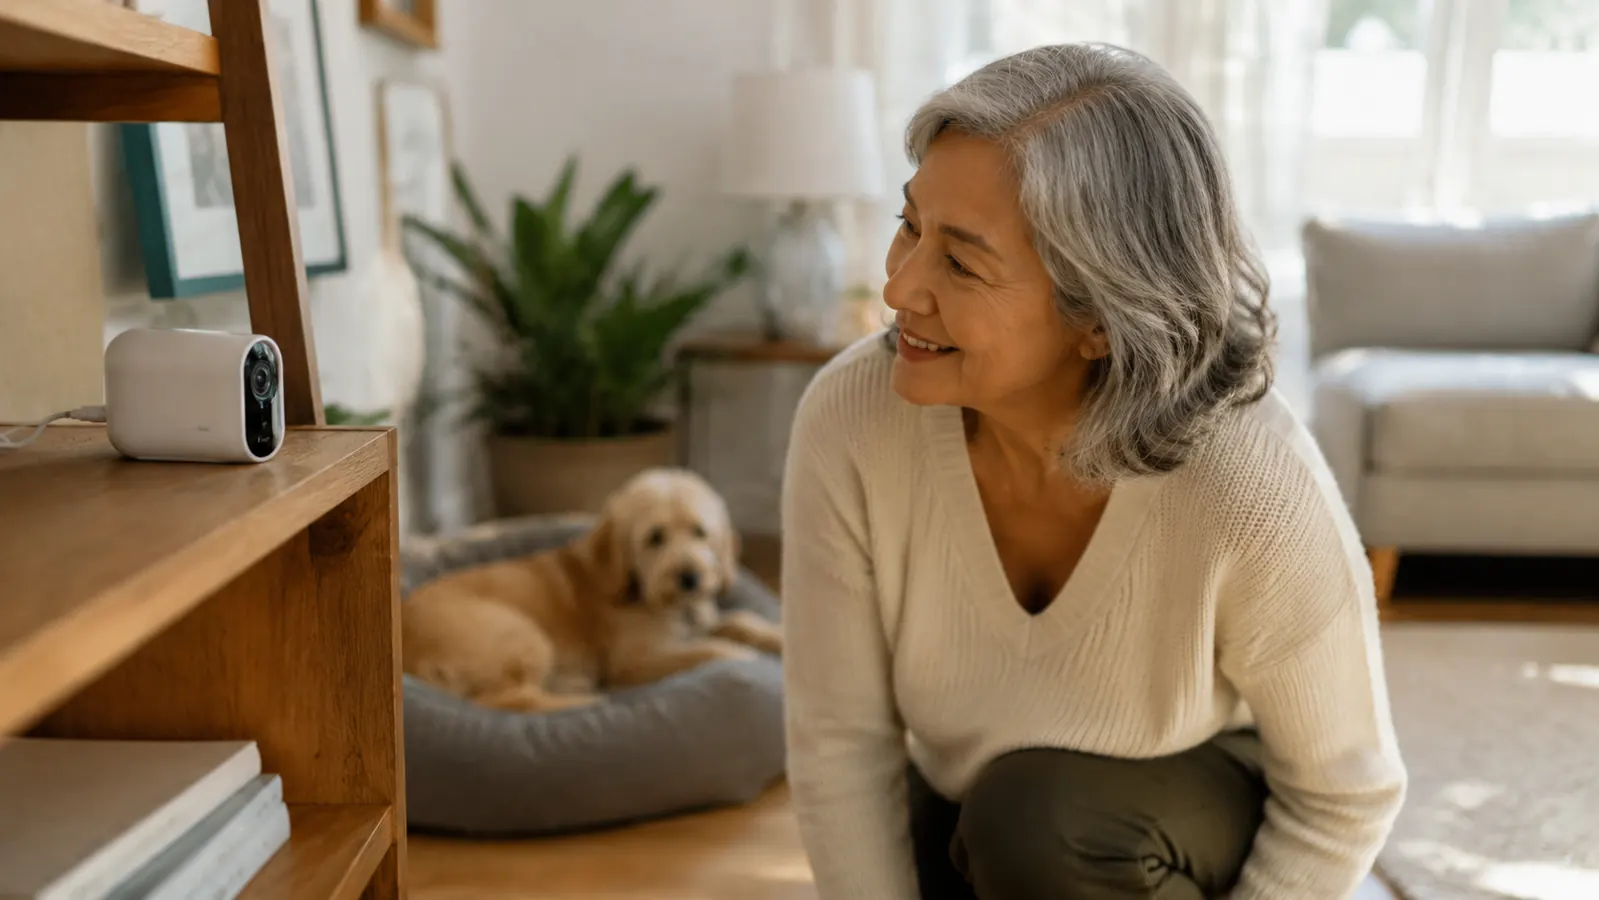
Most people put the camera where it is convenient for them: a counter, a TV stand, a bookshelf at eye level for a human. That is almost always the wrong place. You want the camera where your dog actually spends unsupervised time, positioned so the treat launcher has a clear, unobstructed arc to land within a few feet of where your dog will be standing or lying.
Identify your dog's default resting zone first. If you have never watched what your dog does for the first 30 minutes after you leave, spend one work-from-home morning doing exactly that before you set up the camera. Common zones: the couch closest to the front door, a spot near a window with a sightline to the driveway, or right outside the bedroom door. That zone is where you anchor the camera.
Height matters for treat tossing. The Furbo Mini 360 launcher is designed to arc treats about 3 to 5 feet. Too high a shelf and treats land behind your dog. Too low and your dog noses the camera before the treat fully launches. A shelf or side table between 24 and 36 inches off the floor, pointed at an open area of floor, is the sweet spot. Test the arc with your dog present before finalizing placement.
Step 2: Get Wi-Fi, App Access, and Camera Orientation Right
The Furbo Mini 360 requires a 2.4 GHz Wi-Fi connection for initial setup, even if your router also broadcasts 5 GHz. This trips up a lot of people whose phones automatically connected to the 5 GHz band. During setup, manually switch your phone to the 2.4 GHz network before going through the in-app pairing process. Once the camera is paired, it stays connected through both bands and you can switch your phone back.
Download the Furbo app before you even open the box. Sign in, create your home profile, and add your dog's name and photo. When you get to the live-view screen, use the rotation feature to verify your field of view covers the full intended zone. The 360-degree motor is genuinely smooth on this model. Rotate the camera end to end during setup so you know exactly where the edges of the view fall when you are checking in later from your phone.
Turn on activity alerts. The Furbo Mini 360 will push a notification when it detects dog movement or barking. In the first week, do not suppress these alerts. They are your baseline data. You want to know when your dog is most active and most distressed so you can time your check-ins and treat tosses to the peak anxiety windows, not just at random moments.
Step 3: Load the Treat Dispenser Correctly
Treat selection is not trivial. The Furbo Mini 360 launcher works best with treats that are uniformly sized, roughly 0.4 to 0.6 inches in diameter, and firm enough not to crumble. Soft training treats often jam the barrel. Biscuit-style treats or small freeze-dried pieces work reliably. If you are unsure, the Furbo website lists compatible treat sizes, but most standard training treats in the small-to-medium size range work without issue.
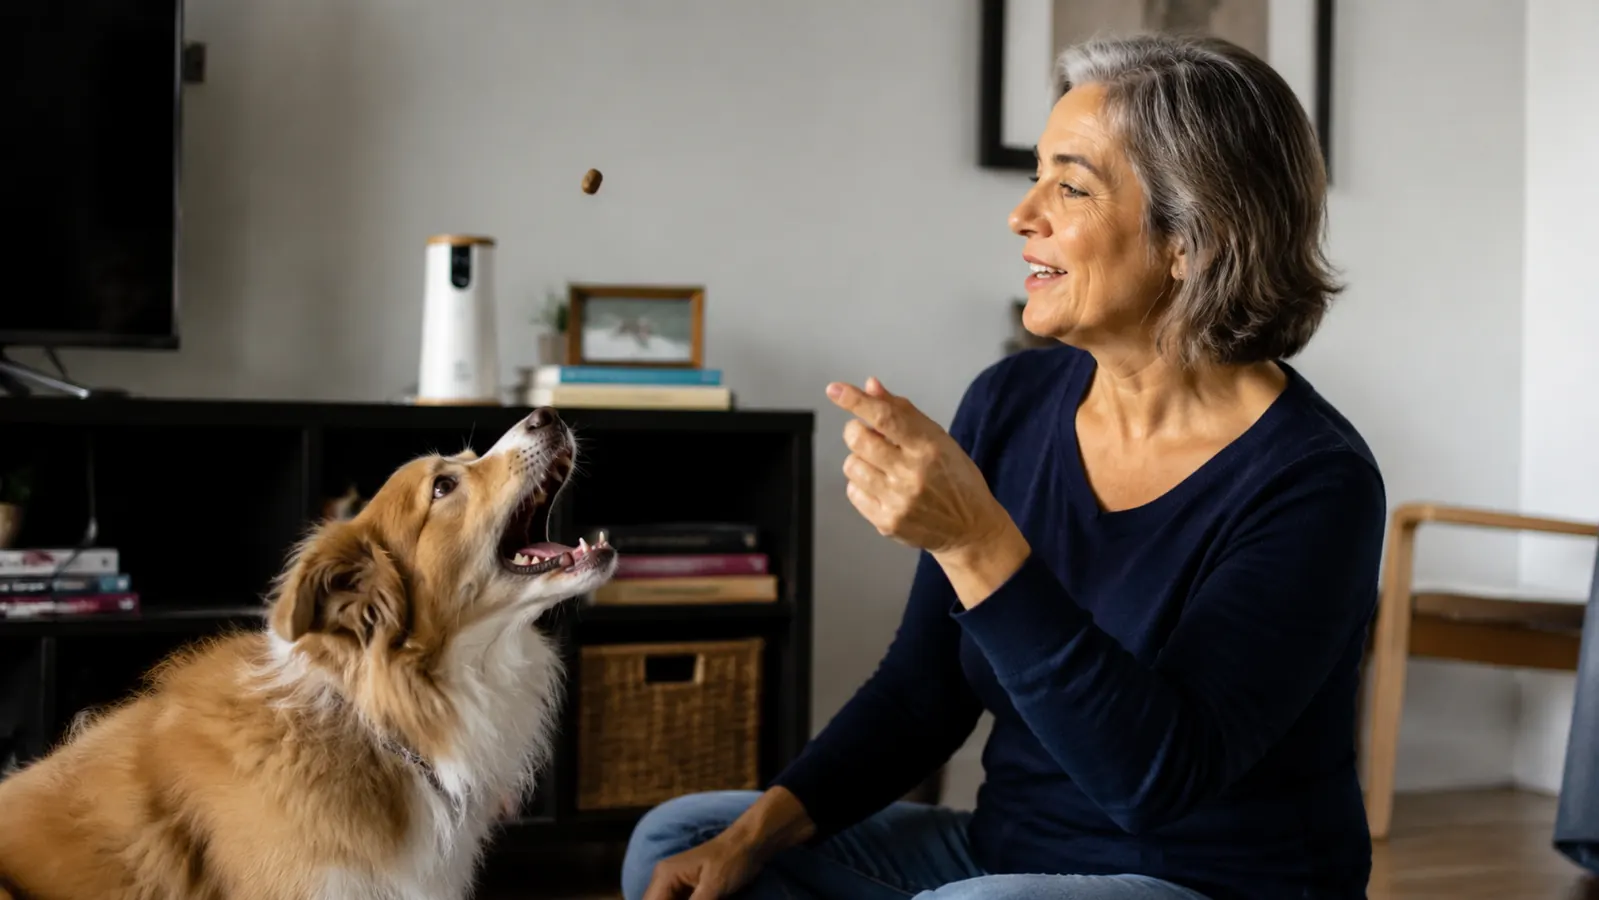
Fill the hopper, but do not max it out on the first day. Use about 15 to 20 treats. You want to run a test fire with your dog present in the room before relying on remote launches when you are away. Do three to five manual launches with your dog watching, and reward each successful catch with verbal praise through the two-way audio. You are teaching your dog what the launcher sound means before the first unsupervised session.
One practical note: if your dog has a sensitive stomach or is on a prescribed diet, use the same treats your vet has approved. Do not use the camera as a reason to introduce new food without running it by your veterinarian first. Frequency also matters. Treat dispensing should be reinforcement, not an all-day buffet. Aim for two to four treat events per unsupervised session, tied to specific calm behaviors you observed on the camera.
The camera is not a babysitter. It is a communication channel. Used well, it shortens the anxiety window by giving your dog a predicable check-in pattern instead of hours of complete silence.
Step 4: Run the First Solo Session with a Short Departure
Do not use the camera for the first time on a full eight-hour workday. Your first camera-assisted departure should be short, 20 to 30 minutes, while you run a nearby errand. The goal is to verify everything works and to give your dog one successful experience of you leaving, checking in remotely, tossing a treat, and returning calmly.
Your departure routine matters enormously for anxious dogs. Do not make a production of leaving. No long goodbyes, no high-pitched reassurances, no drawn-out petting sessions at the door. These behaviors signal to your dog that leaving is a significant event. Instead, exit as neutrally as possible. If you use a departure cue like "I'll be back" or placing a specific blanket in their bed zone, keep it consistent and calm. Consistency is what builds the expectation that departure is temporary and manageable.
Once you are away, open the app, check the live feed, and wait 10 minutes before your first check-in interaction. You want to observe baseline behavior before intervening. If your dog is calm or resting, toss one treat as a reward for the calm state, use two-way audio briefly to say their name and a praise phrase you use consistently, and then exit the live view. Return home 20 minutes later, greet your dog warmly but calmly, and note how quickly they settled after the treat event.
Step 5: Build a Sustainable Check-In Protocol for Full Workdays
Once short departures are going smoothly, move to a structured full-day protocol. The goal is not constant surveillance. Over-monitoring actually increases separation anxiety in some dogs because the owner's attention via the app becomes its own emotional cue. Instead, build a routine: two or three scheduled check-in windows per day, each lasting three to five minutes, timed to the activity peaks your alert data identified in week one.
A workable schedule for an eight-hour absence looks like this. First check-in around 90 minutes after departure, when many dogs are transitioning from post-departure anxiety into a rest state. This is a good moment to reinforce calm behavior with a single treat. Second check-in at midday, around the four to five hour mark. This interrupts what can otherwise become a behavioral low point for dogs with significant separation distress. Toss a treat, say a brief phrase, close the view. Third check-in 30 minutes before you expect to return, if your schedule allows. Keep it short and avoid tossing treats here since you do not want arrival to feel anticlimactic compared to the camera session.
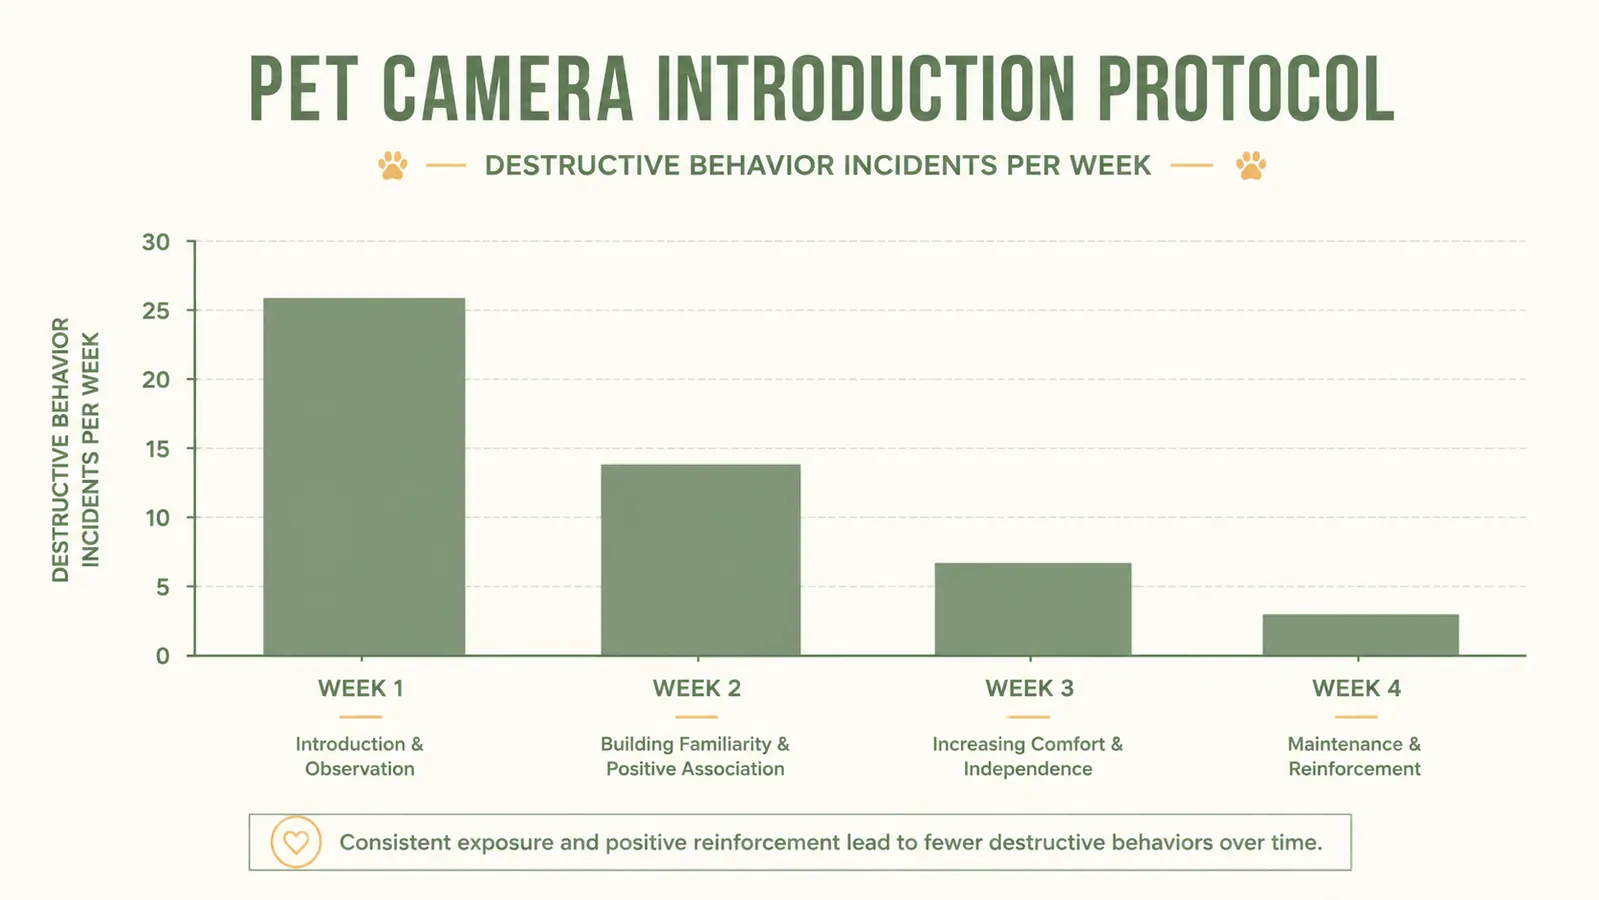
Track your dog's behavior weekly. After four weeks of consistent protocol use, most dogs with mild to moderate separation anxiety show measurable reduction in distress behaviors, including decreased barking duration, faster settling after departure, and less destructive activity during the middle hours. If you are seeing no improvement, or if distress behaviors are intensifying, a treat-dispensing camera is not sufficient treatment on its own. Consult a veterinary behaviorist. The camera is a management tool. For clinical separation anxiety, it works best as one component of a multi-pronged protocol that may include behavior modification, environmental enrichment, and in some cases, medication.
What Else Helps Alongside the Camera
A pet camera handles real-time reinforcement and observation, but it does not address boredom, physical energy, or the full sensory environment your dog lives in for eight hours. Combine camera-based check-ins with a mentally tiring morning activity before you leave: a 15-minute sniff walk, a stuffed frozen Kong, or a short training session. A dog that has expended cognitive energy before you leave has less to direct toward destructive behavior.
Sound environment also matters more than most people acknowledge. Dogs left in complete silence often self-stimulate with barking or movement. A white noise machine, a TV channel with low-stimulus content like nature documentaries, or a dedicated dog-calming playlist can reduce reactivity to outside sounds like door slams and delivery trucks. The camera covers the check-in piece. These tools cover the hours in between.
If you want to go deeper on the behavioral and safety case for pet cameras in general, the full breakdown is in our review of the Furbo Mini 360 after six months of daily use, and we cover the specific reasons owners cite for investing in this kind of setup in 10 reasons a pet camera treat dispenser is worth it.
Ready to start? The Furbo Mini 360 is the camera this protocol is built around, and it is the one I would buy again.
2K live video, 360-degree motor, two-way audio, and a treat launcher that works reliably from your phone. Check today's price before you commit.
Amazon Check Today's Price on Amazon →