
If your dog drags you down the street every single morning, you are not dealing with a stubborn dog. You are dealing with a timing problem. The window between a dog doing the right thing and getting rewarded is measured in fractions of a second. When that window closes before the treat is even out of your pocket, the lesson does not land. That is the entire problem with heel training for most people, and it is solvable with two tools: a waist-clip treat pouch and a clicker.
My own rescue, a 3-year-old border collie mix named Cleo, came to me with zero leash manners. She had spent her first two years in a yard. The pulling was relentless. After six weeks on this exact five-phase plan, she walks in a loose-leash heel on busy streets and ignores other dogs on the sidewalk about 80 percent of the time. The other 20 percent is still a work in progress, but the foundation is there. The Gobeigo treat pouch and clicker combo is what made the difference in reward speed. Fumbling with a bag in your jacket pocket costs you the training moment. Every time.
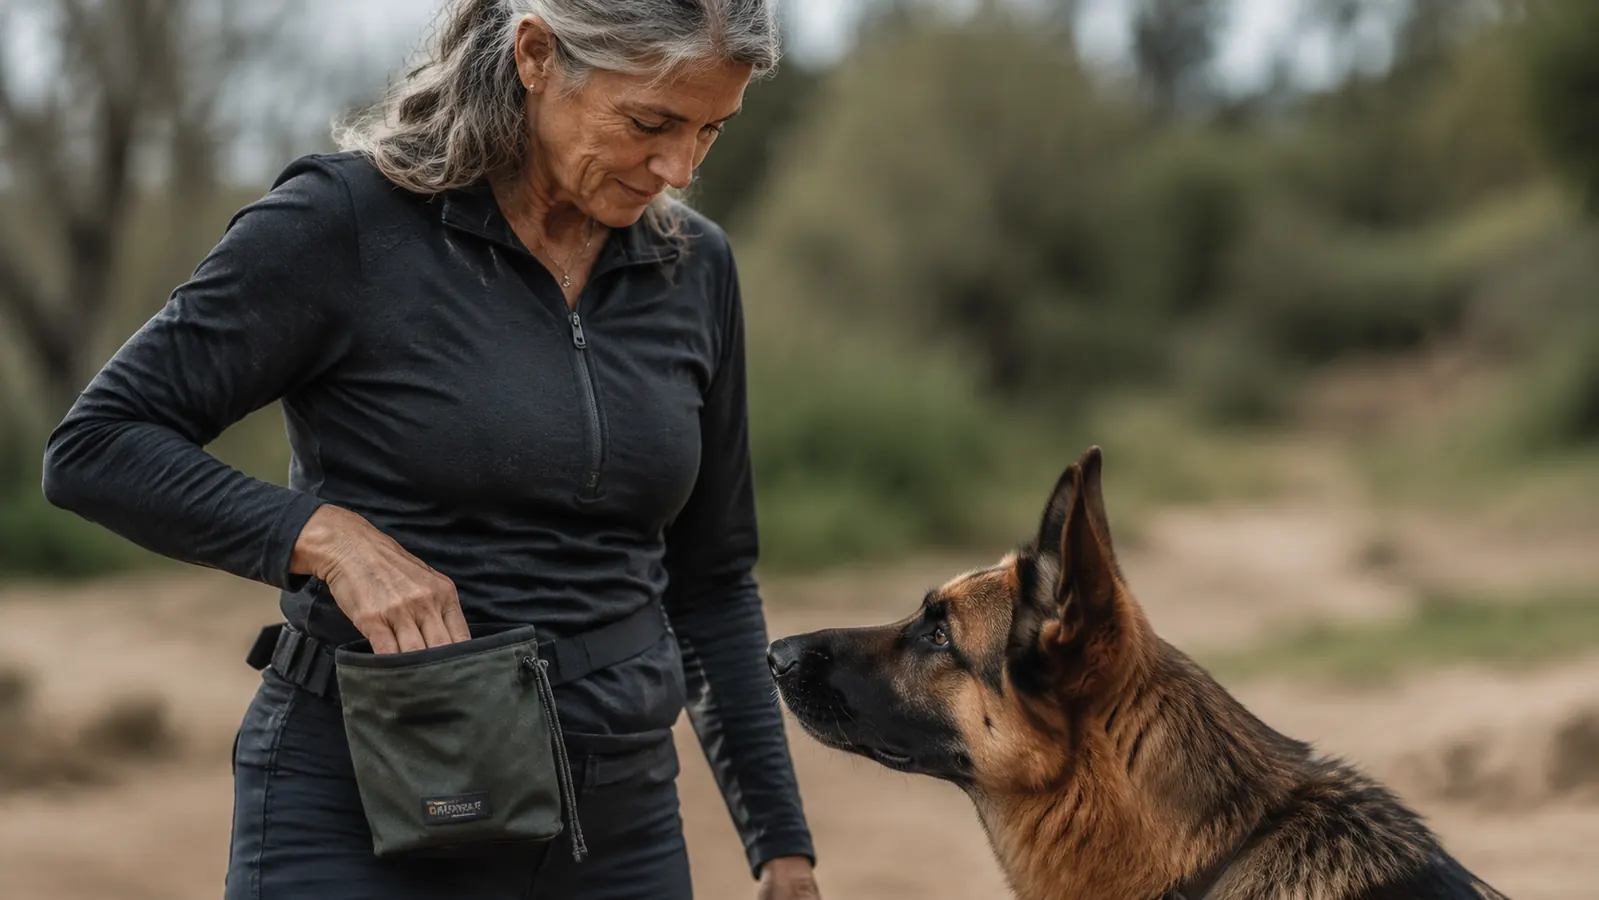
Your dog cannot learn fast if your rewards are slow. The Gobeigo treat pouch puts treats at your fingertips in under a second.
Magnetic closure, built-in clicker, 2-cup capacity, and a waist clip that stays put. The tool this entire guide is built around.
Amazon Check Today's Price on Amazon →What You Need Before the First Session
Before you work through the five phases, get your gear and your mindset in order. The gear list is short: a treat pouch that clips to your waist, a clicker, high-value pea-sized soft treats, and a flat collar or front-clip harness. No prong collars, no choke chains for this method. The clicker marks the exact moment the behavior is correct. The treat pouch delivers the reward before the dog's brain has moved on.
The Gobeigo pouch earns its spot because the magnetic closure means you can reach in one-handed without looking down. That matters when you are watching your dog, the environment, and trying to click at the right moment simultaneously. The clicker that comes in the kit is a standard box clicker, which is fine for most dogs. If your dog is sound-sensitive, a softer i-click style works just as well for the marking job. Session length matters too: five to ten minutes maximum per session, two to three sessions per day. Heel training fatigues dogs quickly because it requires sustained attention. Longer sessions create a dog who is tuning you out by the end.
Step 1 - Charge the Clicker (Day 1, 3 minutes)
Before you teach anything, the clicker needs to mean something. Load your Gobeigo pouch with about 20 pea-sized pieces of chicken breast or commercial soft treat. Stand in a quiet room, click once, and immediately drop a treat on the floor. Do that 20 times with no other task required of the dog. That is it. You are pairing the sound with a reward. Most dogs make the click-equals-food connection inside one or two sessions. You will see it when your dog's head snaps toward you the instant the clicker fires.
A common mistake here is clicking and then reaching into the pouch. The treat should be in your hand before you click, or the gap between marker and reward trains the dog to expect a delay. With the Gobeigo's wide magnetic opening, you can have your hand already inside the pouch when you click, close around a treat, and deliver it in roughly 1.5 seconds. That speed is what you are optimizing for in this phase and every phase after.
Do not attempt Step 2 until your dog is reliably orienting toward you within a second of the click. Some dogs need one session. Some need four. There is no schedule pressure here. Move at your dog's pace, not the calendar's.
Step 2 - Teach the Heel Position, Stationary (Days 2-4)
Heel is a specific position: dog's head at your left knee, body parallel to yours, attention oriented toward your face. Start stationary. Lure your dog into that position using a treat held in your left hand at your left thigh. The moment their shoulder lines up with your knee and they are looking up at you, click and treat. Do not ask them to hold the position yet. One second of correct position is a win at this stage. You are just teaching them where the reward zone is.
After ten to fifteen successful repetitions per session, your dog will start moving into the heel position without the lure. When that happens, introduce the verbal cue: say 'heel' as they move into position, then click and treat. Never say 'heel' before they know where to go. Cues come after the behavior, not before, until the behavior is reliable. Putting the cue on early just creates a word the dog ignores.
Practice this against a wall or fence for the first few sessions. The barrier on the dog's right side prevents them from swinging their hindquarters out, which is a habit that creates the wide, sloppy heel that most people live with long-term. Ten minutes with a fence produces a straighter heel than months of practice in open space.
Step 3 - Add Movement in a Straight Line (Days 5-8)
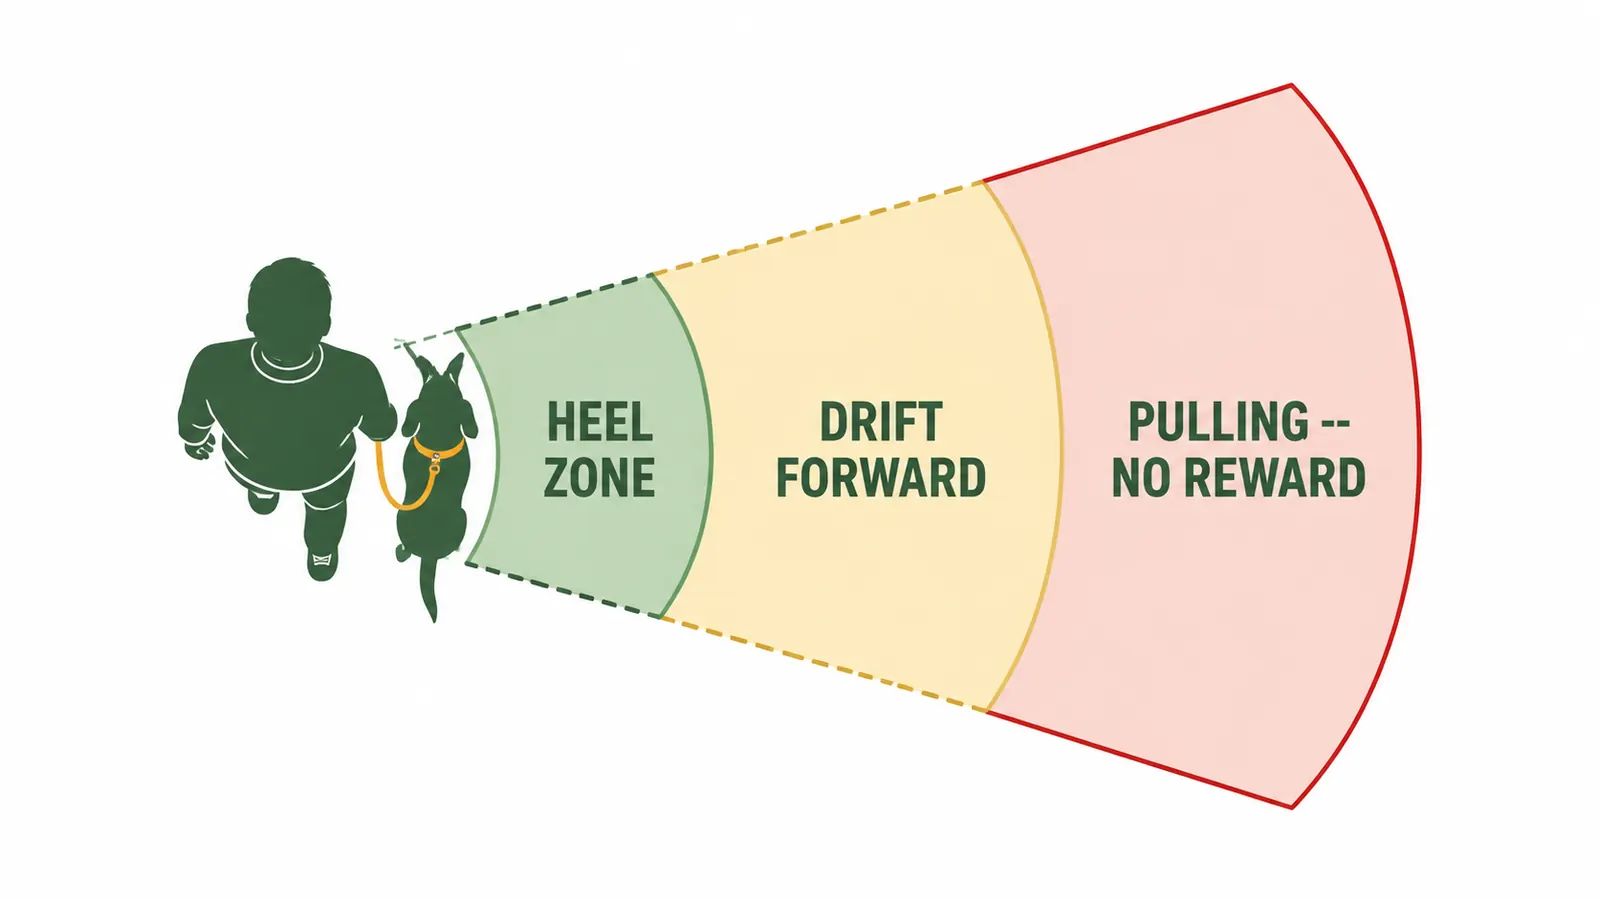
Now you walk. Take one step forward, halt. If the dog stayed in heel position for that one step, click and treat. Build from one step to three, then five, then ten before a reward. The rule is simple: while the dog's head is at your left knee and their attention is on you, the clicker fires at some point. They never know exactly when, which keeps them engaged and watching you rather than deciding on their own when the session is over.
Your treat delivery should come to your left thigh, not down in front of your body. Feeding to the left thigh keeps the dog's head in the correct position. Feeding in front of your body teaches the dog to walk slightly ahead of you, which is a position problem that compounds over time. The Gobeigo's side-clip clicker means your left hand is the treat hand and your right hand can hold the leash loosely with no tension. That light leash is your goal. The leash should never be taut during this phase. If it is, you are asking for too many steps before rewarding.
The leash should never be the teacher. When the leash goes tight, you have already missed the training window. The treat pouch is the teacher, and it works only when your timing is faster than the dog's drift.
Step 4 - Add Turns and Distractions (Days 9-14)
Left turns, right turns, and about-turns are where heel training either solidifies or falls apart. For a left turn, you step into the dog's path slightly. Do this smoothly and at a normal walking pace. The dog must adjust. When they stay with you through the turn and their position corrects back to your left knee, click and treat generously. For a right turn, pivot in place. The dog walks around the outside of your turn. Same reward rule: if they stay tight on your left, click and treat.
About-turns are the hardest. You make a 180-degree turn to the right. Your dog, if they are on your left, must hustle to catch up. This is where treat delivery location matters most. Deliver the treat to your left thigh as soon as they pull even with your knee again after the turn. The treat marks the right moment and teaches the dog that catching up and staying connected to your left side is the most reliably rewarding thing they can do on a walk.
By the end of Step 4, begin practicing in mildly distracting environments: a quiet street, a driveway with light traffic visible. Drop the rate of reinforcement slowly. Instead of clicking every five steps, go for ten, then fifteen. The dog should now be able to hold the heel position for 20 to 30 seconds before needing a reward. If they cannot, back up to Step 3 for one more day. There is no shame in going backwards. It means you moved forward too fast.

Step 5 - Proof the Heel in Real-World Conditions (Day 15 Onward)
Proofing means testing the heel where it matters: past other dogs, near squirrels, beside a busy road, in a crowd. This is the phase most people skip to too early, and it is why so many dogs who heel beautifully in the backyard fall apart on a real walk. The rule of proofing is that you increase only one variable at a time. More distractions, or longer duration, or a new environment. Not all three at once.
When you enter a new proofing environment, temporarily increase your reward rate back to what it was in Step 3. Then back off again as the dog adjusts. This is called the 3D approach: Duration, Distance, Distraction. You build each one independently before combining them. A dog who heels for 60 seconds in the backyard needs to earn that same 60 seconds in each new location before you start asking for it in a distracting park setting.
Keep your treat pouch loaded at all times during proofing. Some owners make the mistake of gradually fading the pouch entirely before the behavior is truly solid. The pouch should stay on your belt for at least 60 days after the heel is reliable. You transition to intermittent rewards, then variable schedule reinforcement, then life rewards like a sniff or release to greet another dog. But that takes time. Cleo still gets a treat every tenth step or so on our walks, and I consider that a fair price for a dog who heels voluntarily past squirrels.
Troubleshooting the Most Common Problems
Forging ahead is the most common issue. The dog keeps drifting in front of your knee. The fix is not to pull them back. Stop walking entirely the moment they move past your knee. Wait for them to check in and drift back to position, then click and resume. The message: forward progress stops when they leave position. This is more effective than any physical correction because the consequence is logical from the dog's perspective.
Lagging is the second issue, especially in herding breeds and some hounds who are environmentally focused. If your dog is constantly behind you, you are probably moving too fast for their current skill level. Slow down. Also check that your treat delivery is going to your thigh, not in front of you. Lagging sometimes develops when treats are delivered too far forward. The treat position teaches the dog where their head should be.
Losing attention entirely at distractions is a Step 5 problem that signals you proofed too fast. When the dog cannot even look at you because a squirrel is nearby, that environment is beyond their current skill level. Leave the environment. Go somewhere one notch quieter. Reward generously for any attention toward you, then slowly raise criteria again. This is not failure. It is data about where your training actually stands versus where you assumed it stood.
What Else Helps
A front-clip harness on a dog still in Step 1 or 2 reduces physical pulling pressure without requiring you to correct the dog, which keeps the training session positive. As the heel behavior solidifies, you can transition to a flat collar for sessions where you know the environment is manageable. A long-line (10 to 15 feet) is useful for Step 4 proofing in open areas where you want freedom to test attention at distance without dropping the leash entirely.
Treat quality matters more than most people think. For heel work, which is cognitively demanding, use your dog's highest-value food. Plain kibble works for simple sits. Heel work needs real chicken, cheese, or a quality commercial soft treat. The Gobeigo's 2-cup capacity holds a full session's worth without reloading. The magnetic seal keeps treats from spilling when you turn quickly through Step 4 drills. Both features matter in practice and neither sounds significant until you have tried a cheaper pouch that dumps treats every time you pivot left.
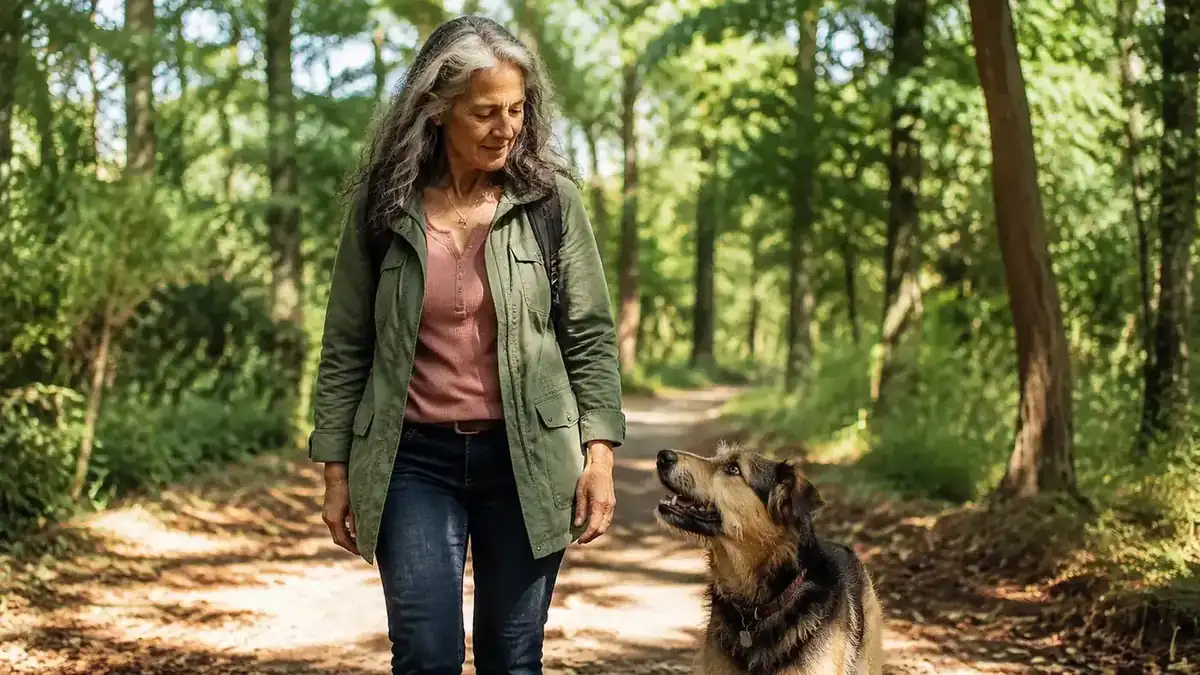
A loose-leash heel in 15 days is realistic. But only if your reward timing is fast enough to teach it.
The Gobeigo treat pouch with magnetic closure and included clicker is the core tool in this five-phase plan. Fast access, secure closure, and everything in one kit at a price that makes the upgrade easy to justify.
Amazon Check Today's Price on Amazon →